

Trail Camera Strategies with TrophyTracks
In this article, we will explain how you can use how to develop trail camera strategies with the TrophyTracks hunting app. An important consideration to monitor deer movement over time and way to plan for the upcoming hunting season.
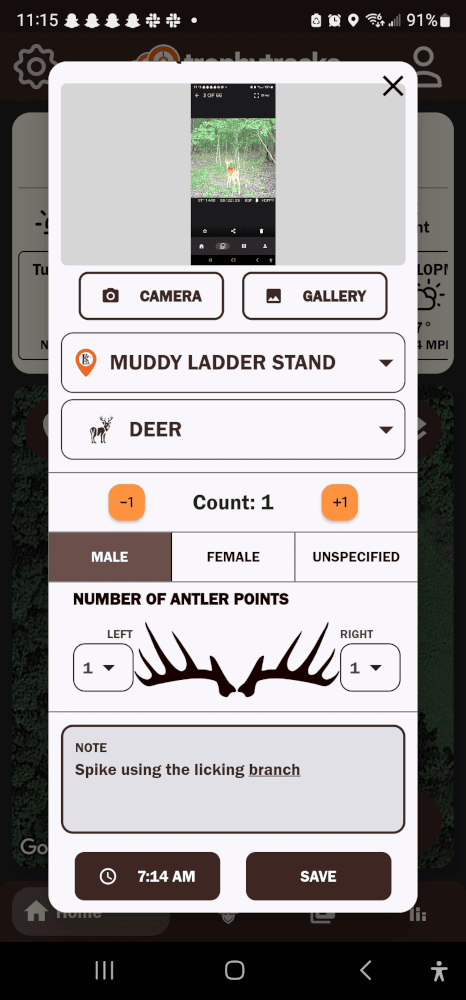
TrophyTracks is one of the only hunting apps that allows users to easily upload or add trail cam photos for the purpose of keeping a journal of “observations” at specific locations.
Not only does TrophyTracks allow you to enter trail camera photos and observations, but the hunting app automatically gets the weather details for the date, time, and location of your images or observations. Data elements that are captured automatically are the current weather conditions including temperature, wind speed and wind direction, humidity, and barometric pressure. In addition, the app keeps track of sunrise, sunset, and moon phases with each log.
What this affords to every hunter is the ability to pattern game movement, understand how the weather affects that movement, and begin setting yourself up for success at your hunting locations.
Trail Camera Tips
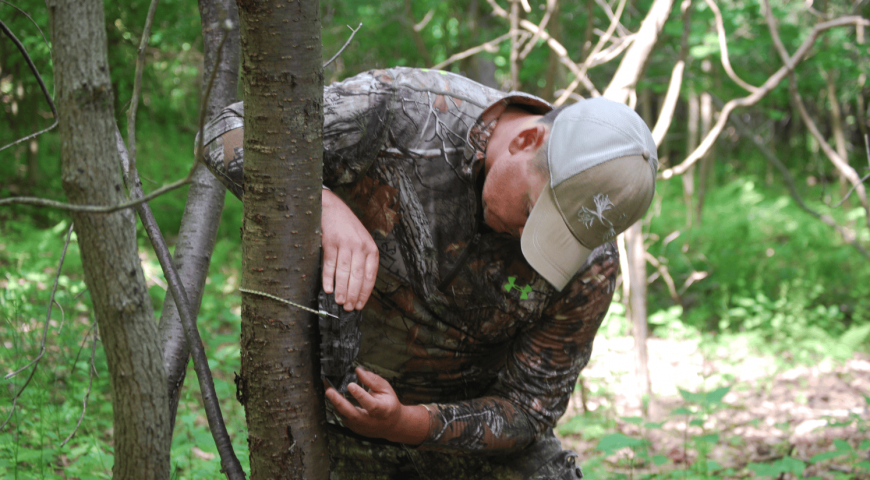
We recommend setting up a trail camera at each location you plan to hunt. For example, many of my deer hunting locations have a treestand setup, a trail camera, and a licking branch/mock scrape. This allows me to monitor these locations when my eyes can’t be there.
How to Get the Most Out of Your Trail Cameras
- Face your camera’s South, if possible. This avoids picture washouts and early rising sun in the East, or sun setting in the West.
- Hang your camera above head level, so the deer aren’t looking straight into it. Put a small stick behind the camera to angle it down a little bit.
- Hang your camera on a tree that is larger in diameter than the camera, this avoids the camera sticking out like a sore thumb.
- Use a water hole, licking branch / mock scrape, good trail system, feed or mineral as an attracting habitat design to enhance the pictures or observations you can make.
- Daytime photos are the best, since this is when you can hunt them. Night time pictures are fun to look at, and even remember them, but the reality is you can’t hunt then at night (unless your tracking coyotes or some other predator).
- Name your target bucks/animals in the notes section for easy searching through TrophyTracks app.
Moultrie has a good article on trail camera tips. Their article, Trail Camera Placement and Setup Tips, will help you get started with the basics.
Two Examples of Using TrophyTracks to Log Trail Camera Photos
It doesn’t matter if you are using a cellular trail camera, a traditional SD card camera, or have your camera set to video mode. Once you retrieve the photos on your phone or laptop, you can easily come up with a way to get them into TrophyTracks.
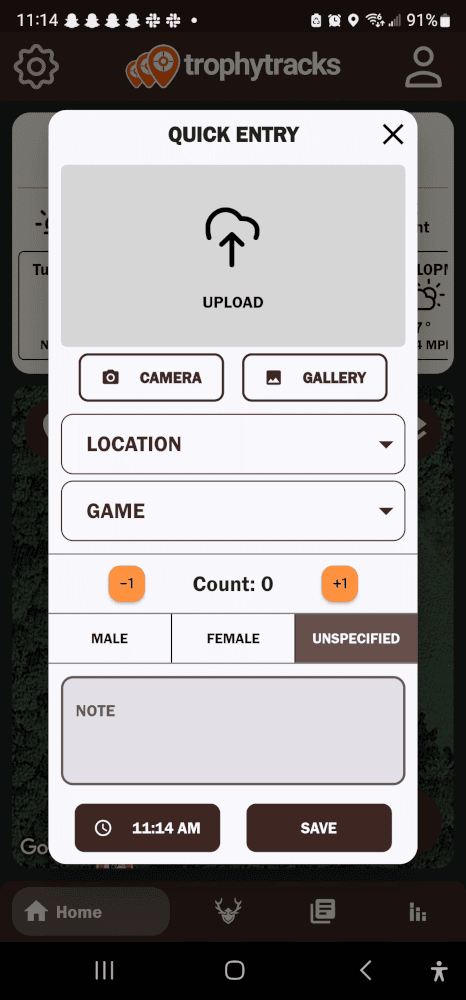
As an example, cellular camera companies typically have a related app to download and set up your subscription and cameras. Once you begin getting good photos, you can either screenshot the picture or save it to your phone. Once it’s on your phone, simply go into TrophyTracks and make a Quick Observation at that location.
Another example is using SD cards. Scroll through the images collected on your computer and decide which ones you want to record in the hunting app. Make a Quick Observation in TrophyTracks and use the camera to take a picture of your laptop and upload that to TrophyTracks.
Advanced Trail Camera Strategies for Detailed Logs
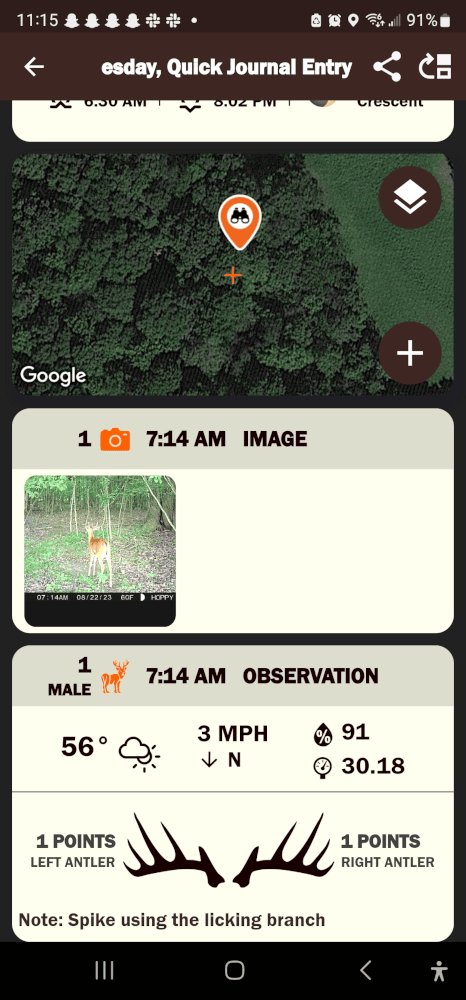
Let’s say you had a very active day of pictures. In TrophyTracks, you can start a new Journal and add observations (with images) for each key time of that day. Be sure to start your Journal with the day/time you want to track in order to capture the correct weather data. Even if you don’t want to add every trail camera image, you can still make the observations to capture the data. To illustrate, an 8-point buck showed up at 7:55 a.m. at one of your locations. You can add the image but more importantly, add the observation to the Journal to log the data and have it available later for prediction.
Trail Camera Strategies – Step by Step
- Trail Camera Placement – Decide where you want to hang each of your trail cameras. Once you have your locations identified, head out and hang them.
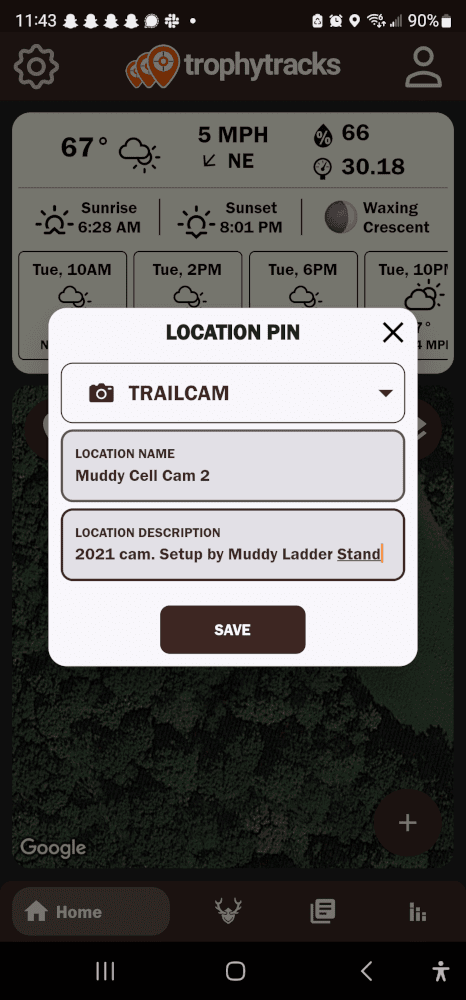
- Add Location in TrophyTracks – Add a “Trail Cam” location pin at each trail camera setup. You can also use existing locations if you already have a stand or blind pin at that site.
- This tracks each trail camera you have set up so you can add observations to those locations.
- Trail Cam pins help you see your distribution of cameras if you are running many at the same time.
- Descriptions can be added to note specifics about the location, SD card name, type of camera, or when batteries we last replaced.
- Add Images – We recommend adding daylight photos, since that is when you can hunt deer (or other game). This will give you data that is useful for future predictions and analysis. Open TrophyTracks and add a Quick Observation or New Journal. Both will allow you to add images and observations for that trail camera location.
- Add images, data, or both. Either way you choose, the data for each entry will be added. Just be sure to select the correct date of the image so TrophyTracks can pull the right information.
- Review Entries – Review all your trail camera entries easily in the app. See locations and images in order to plan for your next hunt. Each one will have the weather data and other attributes already attached to help you understand deer patterns for that area.
#1
#3
#2
#4
Once you get good at the steps above, you can add images in less than 30 seconds. One of the best trail camera strategies is to use that information to be a more informed hunter. There is no better way to that than to use the TrophyTracks hunting app.


Deep Dive Trail Camera Strategies with TrophyTracks
Now that you know how to setup your trail cameras and how to log the activity in TrophyTracks, lets take it a step further.
Start Naming Your Target Bucks
Track your hit list bucks by naming them. For example, if you are hunting a specific buck and you come up with a name for him, “Brutus”, simply add the observation record, and in the notes type in his name. You can search on a keyword such as “Brutus” in your Journals and all the pictures or observations with this name will appear. This really helps track and narrow down a particular buck’s pattern.
Personal Trail Camera Photo Library
Rather than having to search through SD cards, hard drives, or digital photo albums, TrophyTracks makes aggregates all your saved images for you. Add those good ones to TrophyTracks because the data you get with them is super valuable. Plus you have a personal hunting photo library with the TrophyRoom to show off you all your buddies!
All trail camera strategies revolve around one goal – to help you be at the best spot during hunting season. That is what scouting is all about. The more data you add to your locations, the better your data and journals will be.
TrophyTracks PRO gives you that leg up on other hunters. You can filter your trail camera photos to specific locations or specific bucks. Review the logged data, and game plan the best days to hunt. With this data and trail cam observations you know when a particular buck moves during any weather conditions. The app takes that information and builds prediction probabilities to let you know when you should be in the woods. No other app uses your data over time to build a specific hunt prediction. If TrophyTracks is not part of your trail camera strategies, it needs to be this season.
Comments are closed.